


 Español
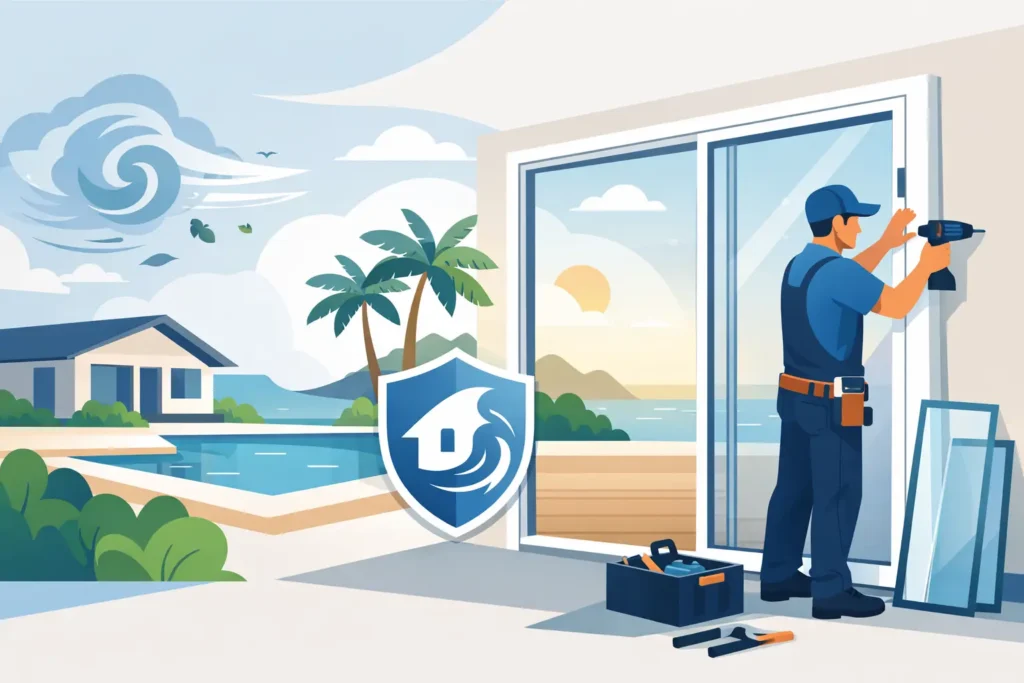
A new impact door should do more than look good at your entryway or patio. It should help protect your home’s envelope when wind-driven rain and flying debris put it to the test. This guide to impact door installation explains what South Florida homeowners should expect, from selecting the right approved door to final inspections and the details that make the installation count.
For homes in Broward, Miami-Dade, and Palm Beach counties, impact doors are a major safety upgrade. Done correctly, they can also improve security, reduce outside noise, help manage indoor temperatures, and add real value to the property. The key is treating the door, frame, anchors, sealant, and surrounding opening as one complete protective system.
Start With the Right Impact Door
Not every glass door marketed as “storm-resistant” is approved for every South Florida property. Before installation begins, the door must be selected for the home’s wind zone, opening size, location, and building code requirements. Coastal exposure, upper-floor openings, and wide patio door systems can require higher design pressure ratings than a sheltered ground-level entry.
A qualified contractor will confirm the product approval and design pressure requirements before ordering. In Miami-Dade and Broward County, this step deserves close attention. Products may need a Florida Product Approval or Miami-Dade Notice of Acceptance, depending on the project location and local requirements. The label, approval documents, glass type, frame system, and installation method all need to match.
Homeowners also need to choose a configuration that fits how they use the home. A single entry door, French door, sliding glass door, or multi-panel system each has different space, threshold, and framing needs. Larger glass areas bring more daylight and a stronger connection to the outdoors, but they may require more substantial framing and careful engineering. The best option balances appearance, daily use, budget, and required protection.
What Happens Before Impact Door Installation
Strong installations begin well before the crew arrives. A field measurement is more than a quick check of height and width. The installer evaluates the opening for plumb, level, and square conditions, then examines the existing frame, wall structure, sill, stucco, trim, and any signs of water damage or wood rot.
This matters because a replacement door cannot perform as designed if it is secured to deteriorated material. If the opening has cracked masonry, damaged framing, or a poorly sloped sill, those issues should be addressed before the new unit goes in. Skipping repairs may save time on installation day, but it can lead to air leaks, water intrusion, operational problems, and avoidable repairs later.
Permitting is another essential part of the planning process. In South Florida, replacing exterior doors commonly requires a permit, and local building departments may require plans, product approvals, or other documentation. A professional installer should explain who is pulling the permit, what inspections are expected, and how the project will be closed out.
Be cautious with quotes that seem unusually low because they leave out permits, disposal, finish work, or structural repairs. The lowest price is not always the lowest long-term cost. A clear proposal should identify the door system, glass, hardware, installation scope, permit responsibilities, and any conditions that could affect the final price.
A Guide to Impact Door Installation, Step by Step
While every home is different, a professional impact door installation generally follows a disciplined sequence. The goal is not simply to place a new door into a wall. It is to create a secure, weather-resistant opening that supports the door’s tested performance.
1. Protect the work area and remove the existing door
The crew protects nearby floors, landscaping, and interior finishes as needed before removing the old slab, panels, frame, and hardware. Careful removal helps prevent unnecessary damage to drywall, stucco, siding, or surrounding trim.
Once the old unit is out, the opening is cleaned and inspected. This is often when hidden problems become visible, including rotted wood at the sill, loose block, failed caulking, or previous repairs that were never properly sealed.
2. Prepare the opening and sill
The rough opening must be structurally sound, clean, and properly sized for the new door. The sill must also be level or sloped correctly to direct water away from the home. Depending on the wall system and product requirements, installers may add sill pan flashing, waterproofing materials, shims, or approved backing before setting the frame.
Water management deserves special attention in Florida. Even an impact-rated door can experience leaks if water gets behind the frame and has nowhere to drain. Correct flashing, sealant placement, and sill preparation are just as important as the glass itself.
3. Set, align, and secure the frame
The frame is placed in the opening and checked for level, plumb, square, and proper reveal. This step affects how the door operates every day. A frame that is slightly out of alignment can make a door bind, drag, fail to latch, or create uneven gaps that compromise weather sealing.
After alignment, the frame is fastened using the anchors, screw sizes, spacing, embedment depth, and edge distances specified by the approved installation instructions. These requirements are not optional details. They are part of the system that helps the door resist pressure changes and impacts during a storm.
An installer should never substitute fasteners or improvise anchor spacing simply because it is easier. The door must be installed according to its specific product approval, not a generic approach used on another job.
4. Install panels, glass, hardware, and seals
Once the frame is secure, the crew installs the door slab, sliding panels, glass, rollers, hinges, locks, and weatherstripping. Sliding systems need to glide smoothly without excessive play. Hinged doors should swing freely, close evenly, and engage the lock without force.
At this stage, the installer checks the manufacturer’s drainage paths, weep holes, sweeps, gaskets, and threshold components. These small parts have a large job. Blocking a weep hole with sealant or setting a threshold incorrectly can trap water where it does not belong.
5. Seal the exterior and finish the interior
Approved sealant is applied where the installation instructions call for it, with attention to joints between the frame and the exterior wall. More sealant is not always better. Sealant placed in the wrong location can obstruct drainage and create moisture problems.
Interior gaps are insulated and finished appropriately, while exterior stucco, trim, or paint repairs are completed according to the scope of work. The finished door should look clean, operate properly, and maintain the home’s weather barrier.
Inspection, Testing, and Final Walkthrough
After installation, local inspections may be required before the permit can be finalized. The inspector may review the product labels, approvals, anchor pattern, fastening method, and overall installation. Keep copies of permits, inspection records, product approvals, warranty documents, and final invoices in a safe place. They can be useful for insurance discussions, future home sales, and warranty service.
Before the crew leaves, take part in a walkthrough. Open and close the door several times. Lock it from inside and outside if applicable. Check the screen, sliding track, handles, thresholds, and weatherstripping. Ask how to clean the glass and frame, lubricate moving parts, and keep the drainage channels clear.
A few questions are especially worthwhile: Is the permit scheduled for final inspection? Where are the product labels and warranty information? What maintenance is recommended for this specific door? Who should you call if adjustment is needed after the installation?
Common Mistakes That Can Cost Homeowners
The most common problems are usually not caused by the door itself. They come from poor preparation or shortcuts during installation. Installing a door without verifying its approval, anchoring into weak material, using incorrect fasteners, ignoring sill conditions, or sealing over drainage paths can undermine an otherwise excellent product.
Another mistake is assuming every replacement is straightforward. A simple door-for-door swap may be possible, but older homes sometimes need structural repairs, a modified opening, or stucco work. Knowing about those conditions early makes the project easier to plan and prevents surprises after removal begins.
DIY installation can be tempting for a handy homeowner, but impact doors are not standard interior doors. Their weight, glass, anchoring requirements, code documentation, and weatherproofing details make professional installation the safer choice for most exterior openings. The protection you are paying for depends on proper installation from the first measurement to the final seal.
Plan for Protection That Lasts
An impact door is one part of a stronger South Florida home. When paired with impact windows, a sound roof, and thoughtful energy upgrades, it helps create a more protected property built for the conditions local homeowners face year after year.
Hurricane Heroes helps homeowners make those decisions with clear guidance, professional installation, and a focus on long-term value. Start by getting your opening evaluated, asking the right approval and permit questions, and choosing a door system that protects the people and property behind it.